
Steering
It begins, at some point the steering game is there.
Who doesn’t want direct steering? The driver and the TÜV. There are two components in which wear is often the first appearance. The short, medium steering rod and the axle on the front axle housing. This can be determined by moving the steering wheel back and forth while simultaneously observing the two components and the steering lane lever (also intermediate steering lever). If the wheels do not move, or only a little, the steering wheel travels some way, then the steering movement disappears in the air of the components. In this chapter we deal with a simple can/axis storage. The spare parts catalogue is very useful. Here the necessary spare parts such as axle, sleeves and O-rings are listed. Buying a spare parts kit is a practical matter.
Our thanks for this project go to Bernd, Helmut and the company Autoquariat.
Work effort: 2 hours
Material: about 120 Euro
Tool: standard plus installation in the picture
Axis – Rifle

We want to replace Axis No. 2 and the camp cans No. 9. For this purpose, other parts have to be selected as required and wear. These may be possible. already included in a rep set. Especially the short steering rod No. 33.
It is also important to note a bridge in the front axle housing. The sleeves can only be removed according to UNTEN and OBEN at a time. Driving through with a permeably matching thorn is NOT possible.
Special tool
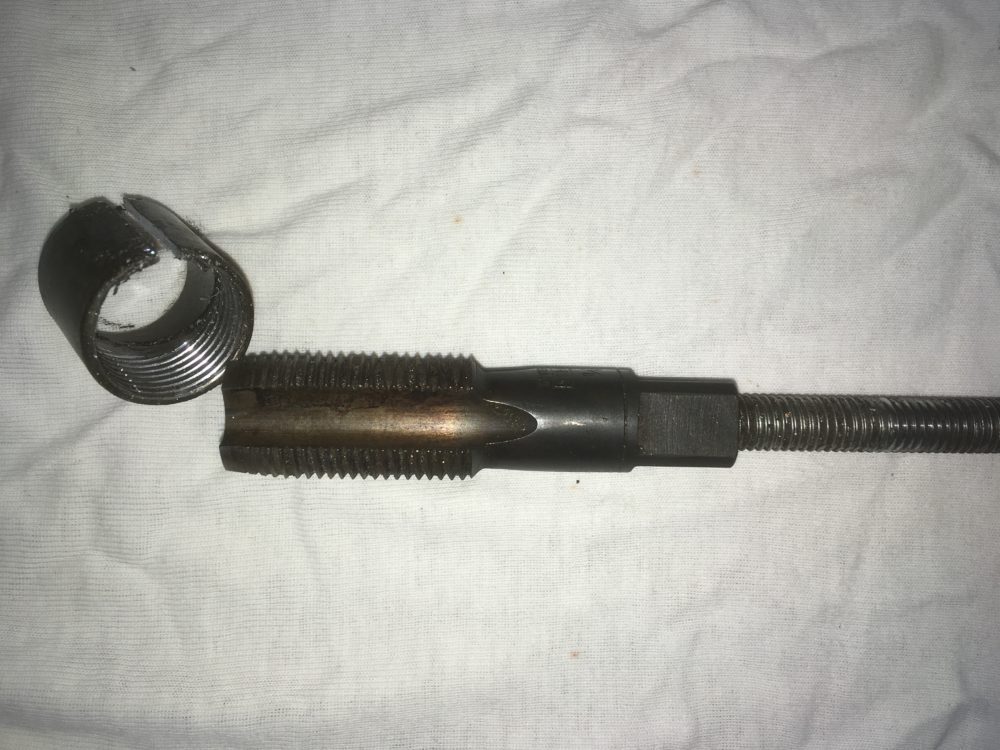
Modified tap 5/8 inch with threaded piece M10 as pull-off thre
aded rod with suitable discs for retracting the new sleeves e.g. M16
Screw clamp, grease press
Here are the steps for the work on the steering in detail:
- Remove wedge (expel)
- Push steering lane lever shove up from the axle
- Pull out the axis downwards
- Cleaning everything
- Threaded drill from below into the first sleeve approx. Turn 1-2 cm
- Push over the pipe piece and a disc and pull out the sleeve with a nut
- Pull out the other sleeve with the same principle according to OBEN. In doing so, if necessary, watch out for the brake line.
- Clean the hole
- Sprinkle the new sleeves with a little grease You are first drawn in with the bevel side and get in the housing above and below again about 2 mm supernatie for the plastic plates No 8.
- When assemling in reverse order, various seals according to the repsatz or Renew spare parts catalogue
- As a rule, the now assembled cans do not have to be reworked with a reibahle. The new, slightly greased axle should be almost sucking in.
- With the screw clamp, the steering lane lever is pressed quite tightly on the bolt. Under this preload, the new greased wedge is then mounted. According to the spare parts catalogue, the wedge comes in the direction of travel from left to right. This was not the case in the photo example.
- Now the axle receives its first new grease filling via the lubricating nipple and is now ready for use.
- In all work, of course, also observe the wear of other components


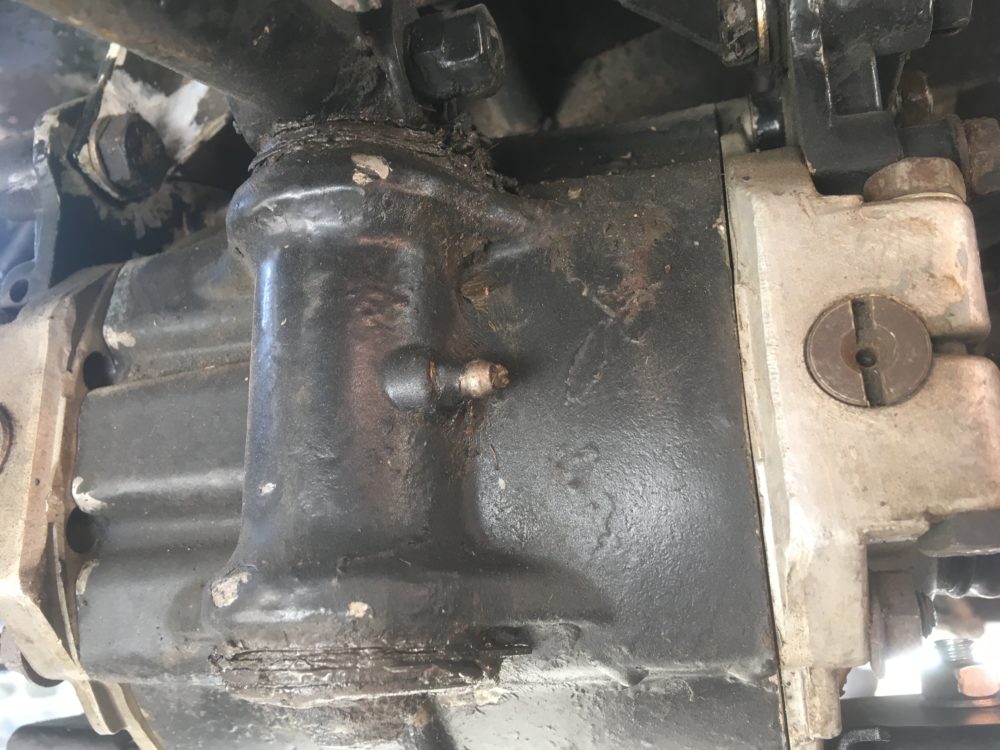
Disassembly of the axle 
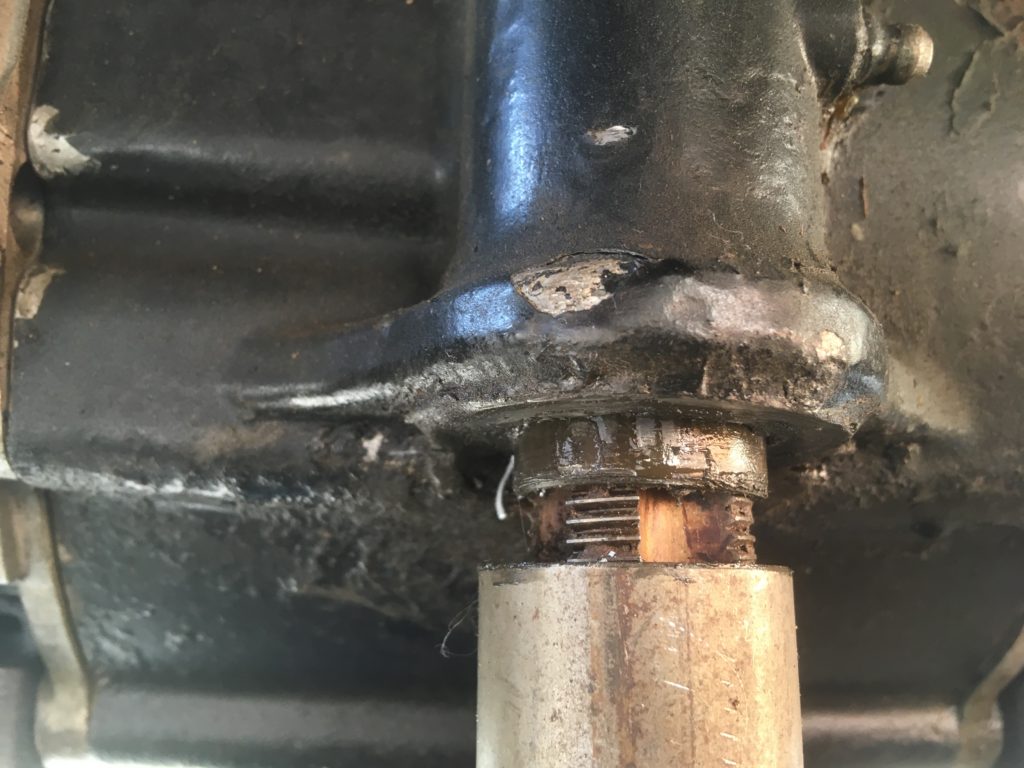
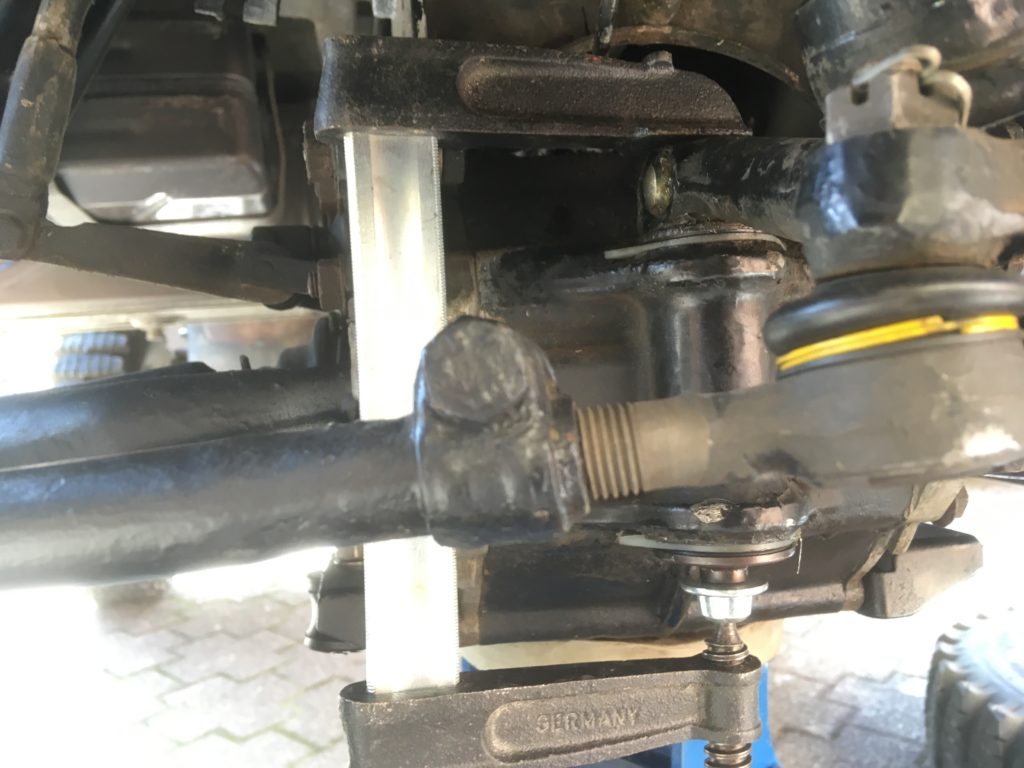
Turning in the pull-out tool 
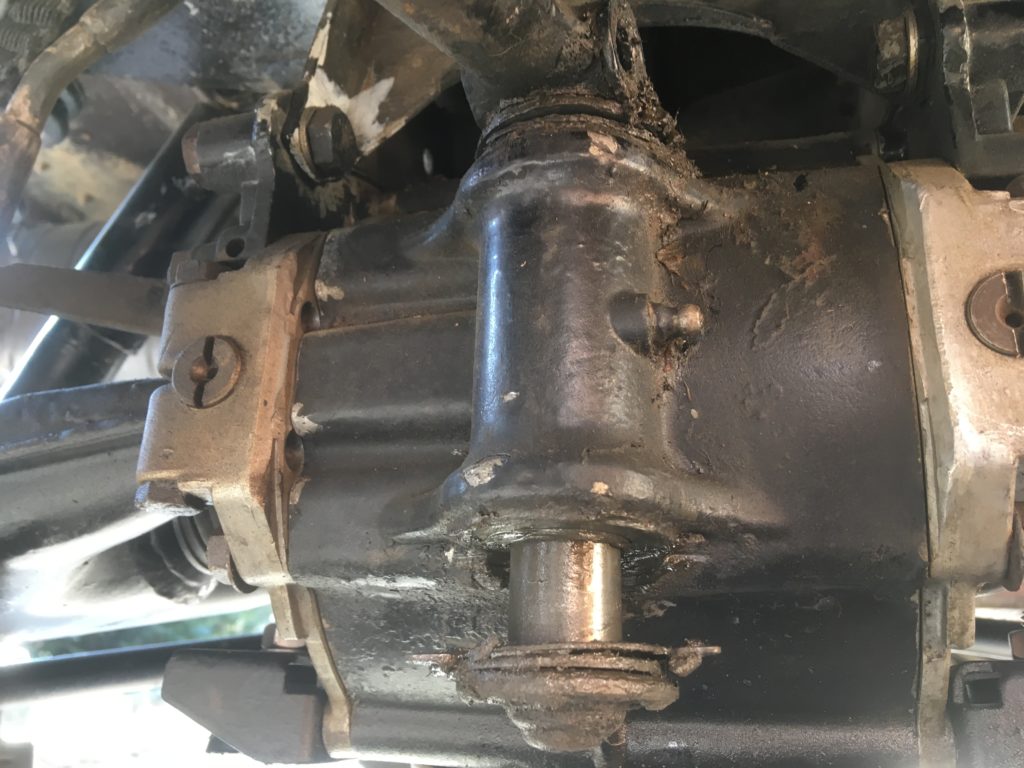
Camp rifle in motion 
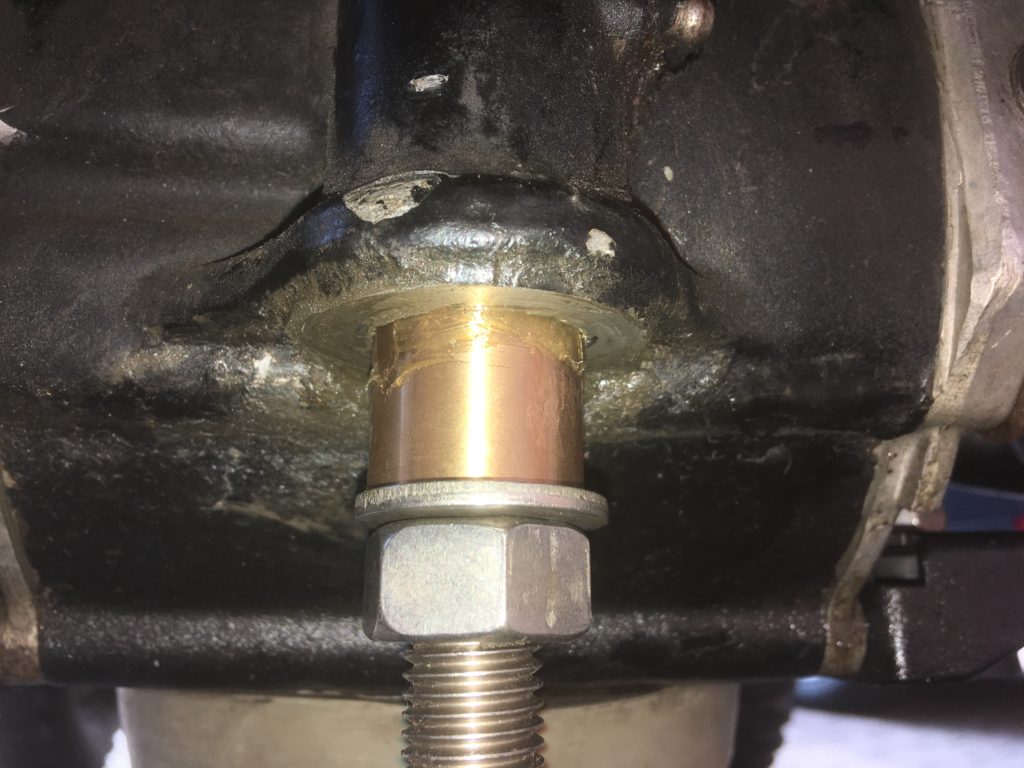
Moving in a new box 
Screw clamp for wedge mounting

FAQ
Dimensions
The tap is designated r5/8 and measures 23mm. The diameter of the can measures about 22mm.

Modify threaded drills
The tap was clamped at the end of the shaft in the feed of the lathe and drilled with a core hole drill for M10 in the tailstock. This worked because the tap was not hard in the end.